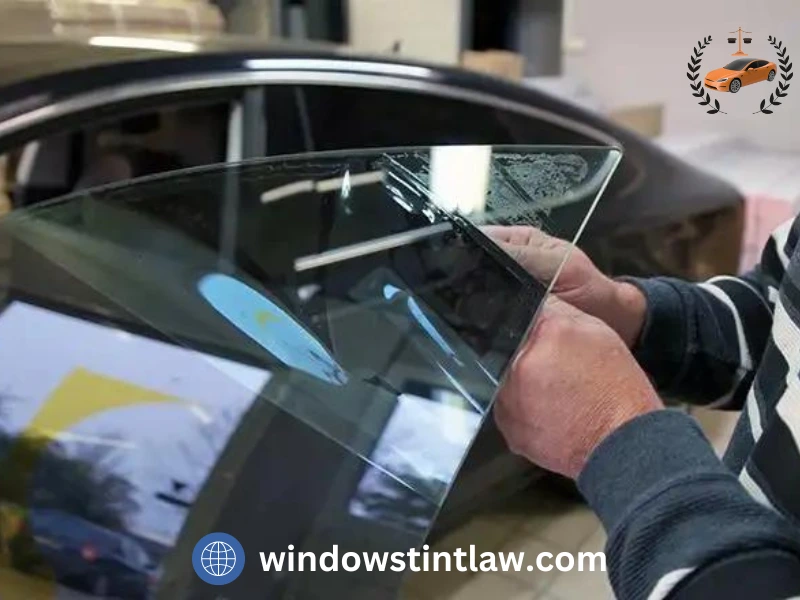
Looking to make your vehicle look new again? Or maybe you just want to get rid of old or damaged window tint? Or you may want to replace the window tint due to medical exemption? You’re in the right spot. This guide will show you how to remove window tint from your car, truck, or SUV easily. We’ll help you deal with tough adhesives, bubbles, and scratches. If anyone install the illegal window tint and caught by police, they may test your window tints using an electronic equipment known as tint meter or window glass reader. If found unlawful, they may ask you to remove the illegal tint.
First, we’ll cover the basics of window tint and adhesives. Then, we’ll talk about the right tools and methods. With our help, you’ll be ready to remove your window tint without a hitch. You’ll get a clean finish, making your vehicle’s windows look like new again.
Window Tint Removal
Before you start removing window tint, it’s important to know the different types and adhesives used. You should also understand why people remove them. This knowledge will help you pick the best removal methods and tools for window tint removal.

Types of Window Tint and Adhesives
Window tint comes in various materials like dyed, metallic, and ceramic films. Each has its own removal techniques. The adhesives used can range from simple water-based glues to more stubborn solvent-based ones.
Reasons for Removing Window Tint
There are several reasons to remove window tint, such as:
- Fading or discoloration of the tint over time.
- Removing the tint to improve visibility or change the appearance of the vehicle.
- Preparing the windows for new tint installation.
- Removing tint due to legal requirements and tinting laws in different US states.
Knowing these reasons will help you approach the removal process with the right mindset and tools.
Preparing for Window Tint Removal
Before starting to remove window tint, make sure you have the right tools and materials. This step is key to a smooth and efficient process. It can save you time, money, and frustration later on.
Tools and Materials Needed
Removing window tint is a simple task with the right equipment. Here’s what you’ll need:
- Tint removal solution – This liquid dissolves the adhesive, making the tint easier to remove.
- Scraper – A sturdy scraper, either plastic or metal, helps lift and remove the tint.
- Heat source – A heat gun or hair dryer warms the tint, making it pliable and easier to remove.
- Razor blade – A sharp razor blade scores the tint, creating an initial edge for removal.
- Spray bottle – Filled with water, a spray bottle keeps the tint and adhesive moist during removal.
- Cleaning supplies – Microfiber cloths, window cleaner, and rubbing alcohol clean the window after removal.
The cost of window tint removal varies. It depends on your vehicle’s window size and tint complexity. Professional services cost between $50 to $200. DIY removal can cost $20 to $100 for supplies.
Step-by-Step Guide for window tint removal
If you want to remove window tint from your car, you’re in the right place. This guide will show you how to do it, from start to finish. You’ll get a clean and professional look. It works for tint on car windows and adhesive left by tinted windows too.
Before starting, make sure you have all the tools and materials ready. This makes the tint removal process easier and faster.
- First, clean the window well. Use a glass cleaner or warm water with soap to get rid of dirt and grime.
- Then, use a razor blade or tint removal tool to peel off the tint. Work slowly to avoid breaking the glass.
- If the tint is hard to remove, use a tint removal solution or water and vinegar. Let it sit for a few minutes to loosen the adhesive.
- After removing the tint, clean the window again to get rid of any leftover adhesive. Use a scraper, tint removal solution, or warm water and soap.
- Finally, wipe the window with a microfiber cloth to remove any streaks. This will give you a professional-looking finish.
By following these steps, you can remove window tint and make your car’s windows look new again. Remember to be patient, work carefully, and use the right tools for the best results.
Tips and Tricks for Efficient Tint Removal
Removing window tint can be easy, but sometimes you might face tough adhesive or scratches. Don’t worry, we’ve got tips to help you overcome these issues. This way, you can remove the tint smoothly.
Dealing with Stubborn Adhesive
When you run into hard-to-remove adhesive, don’t give up. A bit of extra effort and the right tools can help. Use a top-notch adhesive remover or solvent on the tough spots. Let it sit for a few minutes before trying to remove the tint.
If it’s still stuck, try using a plastic scraper or a razor blade carefully. This will help you remove the stubborn residue bit by bit.
Preventing Scratches and Damage
When removing tint, be careful not to scratch your windows. Use soft, lint-free cloths and be gentle. If you see scratches, stop right away and think about using a scratch remover for car glass.
With patience and the right steps, you can remove the tint without harming your windows. Drivers and vehicle owners must obey the window tinting rules and install the sun screening materials according to the allowed VLT limits.
